
NestJS+Redis实现缓存步骤详解
NestJS的缓存模块天生支持Redis等缓存机制。以下通过一个示例,说明如何在NestJS中操作Redis。步骤如下:
先安装运行Redis服务,步骤参见链接
新建nestjs项目:
nest new [项目名称]
安装cache相关依赖
npm install cache-manager
npm install -D @types/cache-manager
npm install cache-manager-redis-store --save
注册Redis Store
打开src->app.module.ts,这里假设已经在本地安装启动了Redis服务
import { Module, CacheModule } from '@nestjs/common';
import * as redisStore from 'cache-manager-redis-store';

imports: [
  CacheModule.register({
    store: redisStore,
    host: 'localhost',
    port: 6379,
  }),
],
打开src->app.controller.ts, 使用Redis缓存服务
import {
  Controller,
  Get,
  Res,
  Req,
  Inject,
  CACHE_MANAGER,
} from '@nestjs/common';
import { Cache } from 'cache-manager';

fakeString = 'Hello World!';

@Get('cache-test')
async setGetSimpleString() {
  const value = await this.cacheManager.get('my-string');
  if (value) {
    return {
      data: value,
      loadsFrom: 'redis cache',
    };
  }
  await this.cacheManager.set('my-string', this.fakeString, { ttl: 20 });
  return {
    data: this.fakeString,
    loadsFrom: 'fake database',
  };
}
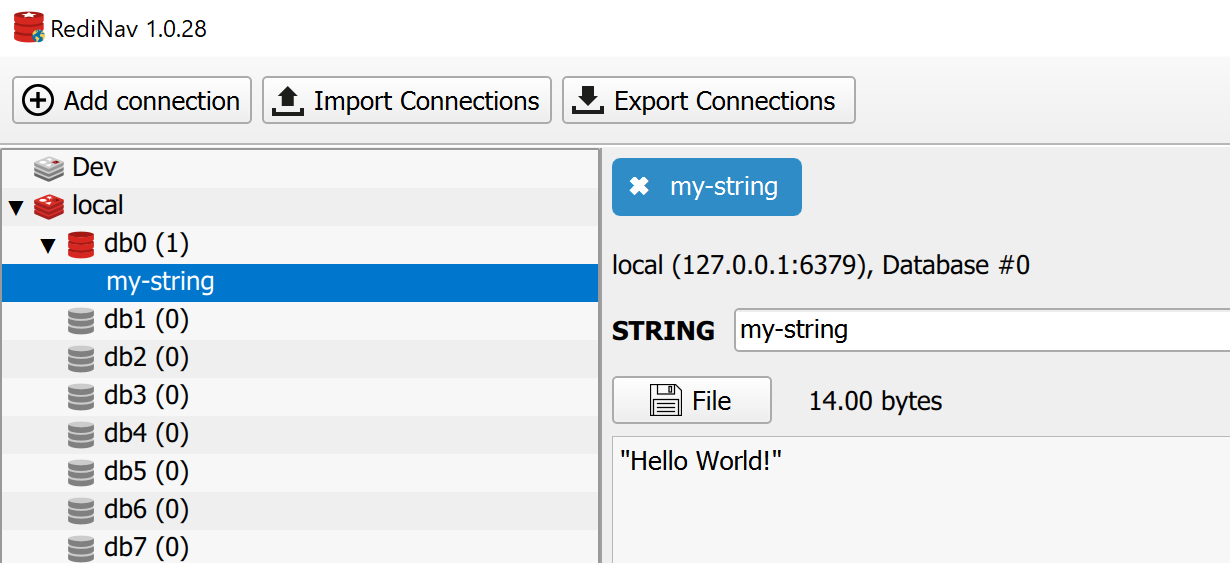
最后,访问接口,打开Redis客户端工具RedisNav,验证结果:
参考:
https://www.learmoreseekmore.com/2020/12/nestjs-redis-cache.html
到此这篇关于NestJS+Redis实现缓存的文章就介绍到这了,更多相关Redis实现缓存内容请搜索以前的文章或继续浏览下面的相关文章希望大家以后多多支持!
